
Getting Started (Arduino)
IMPORTANT: If you have a new Arduino UNO R3, an Arduino MEGA R3 or an Arduino Leonardo R3 (with an IOREF pin) go right ahead. If you are not sure which board you have or you use any other board, including older versions of the UNO, MEGA and LEONARDO and “compatibles” please stop with this guide and read at least Appendix A of the User's Manual first.
|
Hardware Requirements:
|
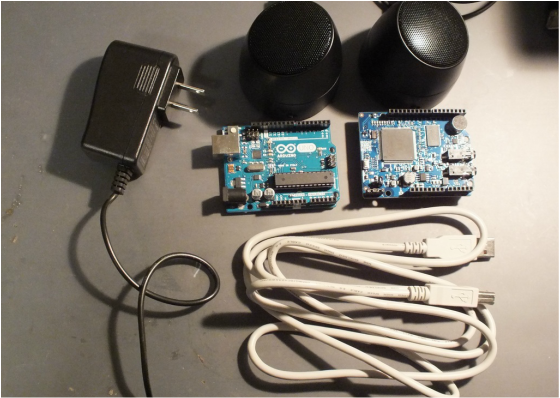
|
|
1. If you haven't already, download and install the Arduino IDE recommended for your board. To do that, follow the instructions in your Arduino documentation or on this website: https://www.arduino.cc/en/Main/Software.
2. Download the latest version of the MOVI Arduino library as a zip file. 3. Install the MOVI library into the Arduino IDE. Instructions on how to install a library can be found here: https://www.arduino.cc/en/Guide/Libraries. 4. Load the LightSwitch example by opening the File menu under Examples. Choose MOVI or MOVI(tm) Voice Control Shield, depending on the version of the IDE. The result should look similar to this: |

|
|
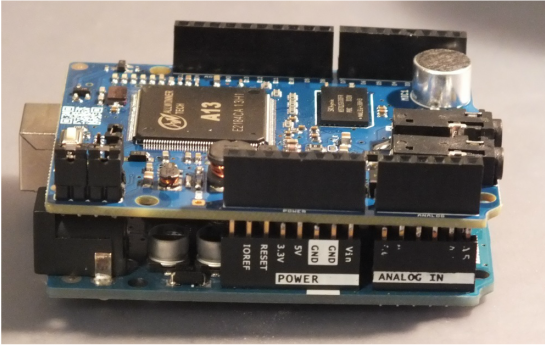
5. Disconnect all power and USB cables from your Arduino board and connect the MOVI shield onto it, making sure all the pins align correctly. If you see two pins sticking out, you have an older board that does not yet support IOREF. You can operate MOVI but you should read Appendix A of the User Manual first to see if you need to set a jumper.
|
|
|
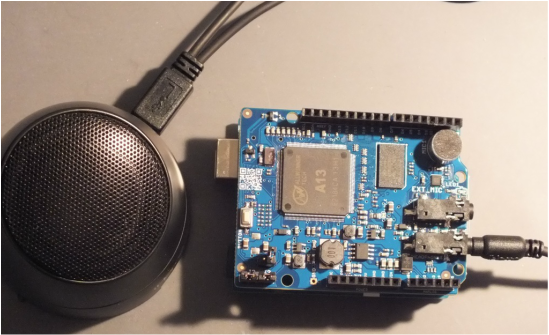
6. Connect an external speaker or a headset to the Audio Out. Audio Out is labeled “HEADPHONES” and is the audio jack further away from the integrated microphone, closer to the Arduino headers. You can only connect headphone impedance speakers, such as active speakers for laptops and cell phones. See Section 2 of the User Manual for more information on what speakers can be connected to the board.
|
|
|
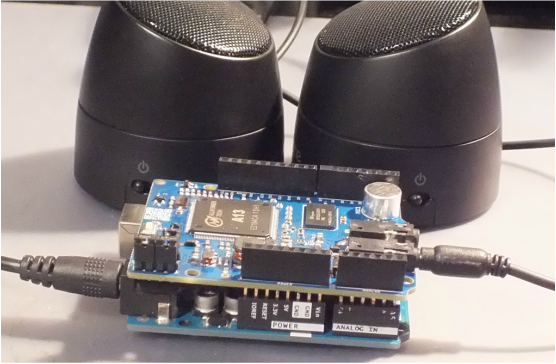
7. On an Arduino board with IOREF pin, make sure Jumper 1 is open (unset). Otherwise, check Appendix A of the User Manual about the best setting for Jumper 1. Connect the external power supply to the Arduino board and switch it on.
|
|
|
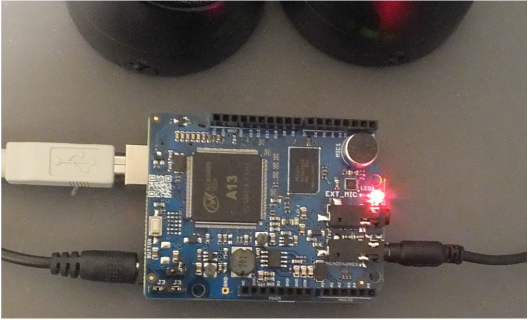
8. After about 2 seconds, you should see MOVI’s LED (close to microphone) blinking with increasing frequency. The speakers will say “MOVI is booting”. Eventually the LED will stop blinking and just be constantly on. This indicates MOVI is ready. If the LED does not go on at all, please turn off the power and read Appendix A. If, by the time, the LED has become steady red, you didn’t hear anything, please check your speakers/headset and the connection.
9. Connect the USB programming cable to the Arduino board. |
|
Important: Always, connect the USB cable after you have connected the external power supply. It is safe to disconnect the USB while the power is on. With the exception of MOVI updating, learning a new call sign, learning new sentences, or resetting to factory settings, you can always unplug the power safely. MOVI’s LED (close to the microphone, see image) will blink randomly while it is not safe to unplug. However, please do not disconnect the external power while the USB cable is plugged to the Arduino. Powering MOVI from USB will not supply enough voltage to the board and will therefore leave MOVI in an unstable state where the LED might be on or blinking but MOVI does not work properly.
10. In the Arduino IDE, compile and upload the LightSwitch Example.
11. Optional: For better visibility, connect an LED to Arduino header pin D13 (+) and GND (-).
10. In the Arduino IDE, compile and upload the LightSwitch Example.
11. Optional: For better visibility, connect an LED to Arduino header pin D13 (+) and GND (-).
|
12. Operate the example as follows:
|
|
13. Congratulations! Now play around with the code, try other example sketches, write your own and have fun with MOVI! Check out the example videos and please also take a look at the User's Manual as it contains a lot more information about MOVI than this guide.
Users familiar with both MOVI and open source programming may also check out the latest API source code and examples from https://github.com/audeme/MOVIArduinoAPI.
Users familiar with both MOVI and open source programming may also check out the latest API source code and examples from https://github.com/audeme/MOVIArduinoAPI.